.JPG) |
nicked name the 'black hole' for a reason I hated coming home to this.   Even just putting the lino down changed the area. I can mop it now. Its the small things in life right. total cost $5.00 for a lot of glue left over. next took some math skills I do not have but I think it turned out well. anyone with kids and husband that work hard the walls at a front door or main entrance get trashed. With this in mind I sat on the web for hours looking at other peoples ideas . It was time to not look for perfection and just get the project done. here is a few before photos of the wall.  .JPG)
I was not bad, it is just not totally my style. Then I went to town with my idea. I feel I could not have been better I just love it.
ARE YOU READY!!!!!
 
The wall colour is Jade frost and the trim is white on white.

We want to change the green wall but cant decide on a color that we both like. This project was a little pricy with the trim but it was still under $100 but it changed the whole house and gave the home so much character. I love it.
Just a few more pics

The pictures were taken at the same time and same lighting what a difference paint does. As you can see if painted the door well I was at it too.
 Well that is all I am off and runny to do some more crazy things with the kids before school starts in a week. YAYAYAYAAYAY!!!! |
Monday, 25 August 2014
front entry, take 5
Good day! I am here to share my front door redo with you today. If you follow my blog you might know that is have a front door from the 60s. its horrible.(older post here) NO door for the closet and the hardwood floor was getting very bad. so bad that I got a sliver in my foot from it. My dad had given us some flooring for our bathroom that was left over from there reno in there house, But it was 3" to short for the bathroom. so plan B was to use it up in the front door. Lets see a before pic of the front door first.
bedroom makeover on a $30 budget
Welcome,
As you can see it was a dark chocolate brown. It served my brother and us for 6 years. It had a blue wall that was nice as well. I wake up one morning and was ready to over haul it, but with school starting funds for projects is not going to happen. I tried to get over it and moved on with my day. We then went for our weekly thrift shop trip and they were sitting there Screaming at me. "BUY ME,PAINT ME" well you know if that happens its fate. I paid the first worker I could find a whapping $2.00 for both and could not get them in the truck fast enough.


I have found a new product, it might be a problem. Chrome spray paint. Stay tuned for EVERYTHING!! in my house to be Chromed.
Today I am here to share my master bedroom makeover. I might have spent $30. ok first that's go back to what it looked like before. NOTE: this is the smallest Master bedroom, but to us its bigger then our old house. The room is 10'11" x 9'5" see so 'BIG".
 |
| When my brother owned the house |
 |
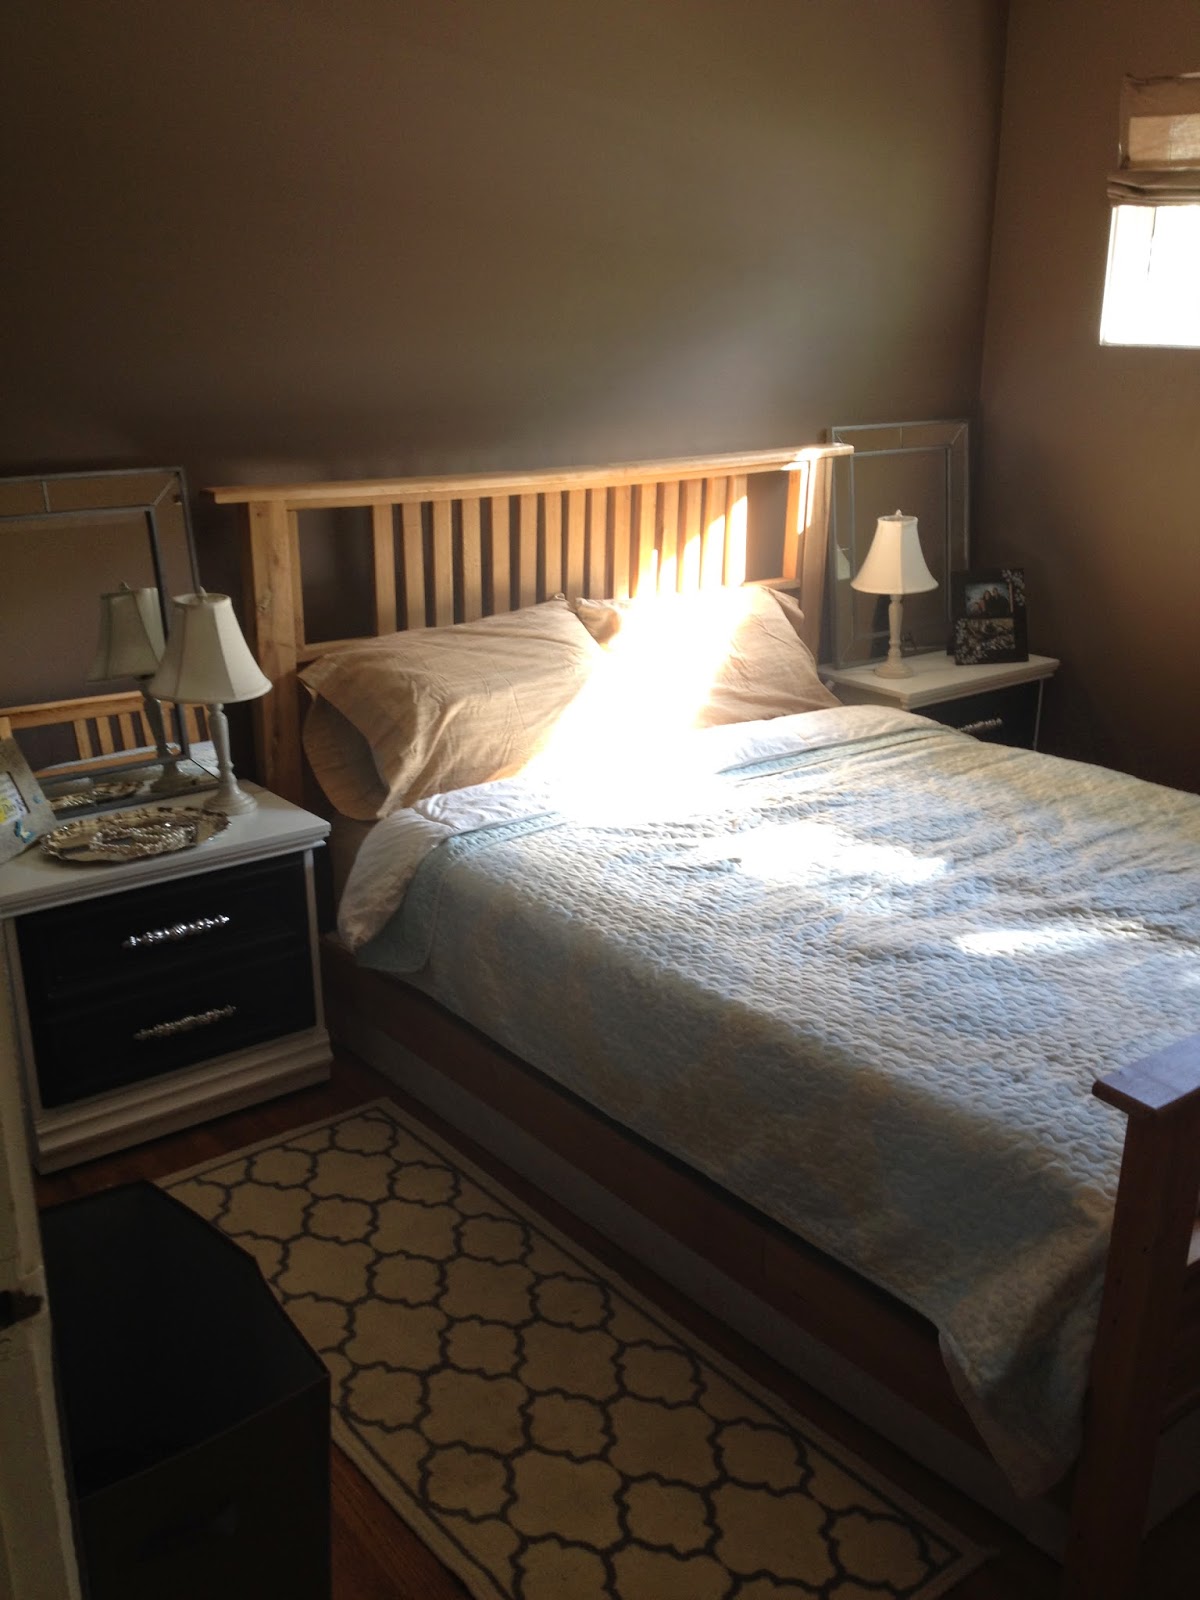
| When we moved in. My dad made the bed for us. I just love it so much. |
As you can see it was a dark chocolate brown. It served my brother and us for 6 years. It had a blue wall that was nice as well. I wake up one morning and was ready to over haul it, but with school starting funds for projects is not going to happen. I tried to get over it and moved on with my day. We then went for our weekly thrift shop trip and they were sitting there Screaming at me. "BUY ME,PAINT ME" well you know if that happens its fate. I paid the first worker I could find a whapping $2.00 for both and could not get them in the truck fast enough.
With some water damage on one of them painting was the only option. I had one drawer to fix with a L bracket. The bones were just what I always wanted. Then I had to pic a color out of my paint shelf. It was hard I wanted them light but also with our bed very country I wanted it to flow with the rest of our house that is kind of county chic modern blend.
I had lots of trim colour left from our front door redo (POST TO COME). Out came the paint and brushes. The kids helped paint the table and I spray painted the drawers. I love chalk board spray paint it covers great and is so very durable. One can has done so much I cant even think of all the stuff I have redone with it. As I said before with the chrome spray paint. I have never used it before, I always figured it would look cheap. Well Canadian Tire had it on for $5 a can so I thought I cant buy one new pulls for $5 and them look good. I took the plunge and painted the nasty ones that came with the tables. WOW!!!!!!! LOVE
 |
| after just one pass. HEHEHEHEHE |
I also had a can of $5 mis-tint paint on my shelf and I tossed it on the walls lol the whole painting the room and tables only took maybe 5-6 hrs. that includes a dog walk and bike ride in that. Lets just say I might have been a little crazy. I pulled my shoulder so I was down for the next day. Well if you call making window covering down lol I have wanted to make these for so long so I took the plunge. I followed her instructions and was so impressed how easy it was.
I just used a twin sheet. When I find a side curtain I like I will maybe add one but for know we love these. total cost $5. I had the blinds kicking a round for a few years. they are not perfect but I really love them.
well are ready for the whole room picture. Are you ready!!!!
I have requested a new bedding set for my birthday in 3 weeks so hopefully I can get that asap.
Just need to get our wedding photo printed and my sign made and it will be 100% the bedroom of my dreams.
Just some eye candy shots. I made the frame a long time ago. The lamps are a thrift shop find $3 each and the tray is also thrifted for $.50.
Lets recap the budget here. Wall paint $5.00
night stands with paint $7.00 and window coverings $5.00
grand total = $30.50
This is proof you don't need a large budget or a large room to make your dreams come true. My sign beside my bed says it all. I am blessed.
Get crazy happy with your house, even if you have no money. The smallest thing can make a big difference on you well being.
Wednesday, 20 August 2014
Dinning room hutch organised
Good morning, It is so early here(5am). Hope your summer is as great as mine,I just love summer. So I will try and stay on topic today but I have so much to share with the blog world. I will start off with Back to school. (insert the most wonderful time of the year song here). With the best time of year it is also crazy busy, still trying to have fun but also get back to a schedule.
I started by organizing the dinning room. With Red starting grade 3 and mm starting kindergarten this will be a big hub of the house. If you didn't read my hutch makeover post you can.here
Let me show you how you can take the biggest thing in your house and use it well.

I think this is my favorite thing in my whole house, besides the people I guess. I am standing in the door way of our kitchen taking this picture. You can see the kids backpack station in the corner. It has been in operation for over a year and it still works very well. You can read my small post here on it.

Drawer #1 is the kids drawer. The cabinet came with the sliding tray built in, It works great. I want to build a few more around the house in other tall drawers. This drawer only holds school work books and one coloring book for each kid. There is more downstairs in the craft room. I like to keep this space super simple. I find with kids and sometimes me as well, if you complicate something it does not stay organized. We also have bins in the craft room for extra school supplies and stuff if we need it.

Drawer #2 is my drawer. I don't need a lot of stuff in here. I just use it for storing some office stuff , bill paying things, note books, and my awesome sharpie collection. HEHEHE I have a problem. I got the tray from Canadian tire and I love it.

Drawer # 3 is dinning room stuff I guess. Table runners, napkins stuff like that. Sometime I store candles in here at Christmas.


The 2 side cabinets are very large. One has the can recycling and the other houses my binders for the house and the all in one recycling. We are little spoiled in the valley in that we don't have to sort our recycling we just blue bag it and leave it in the alley every 2 weeks. I have a bin at the bottom of the stairs that holds the flattened cardboard that cant go in the bags. So I don't forget to put it out I set a reminder on my phone that goes off Thursday afternoon so I can toss it out side for Friday pick up. The white basket is the shred bin. Very self explanatory but I just toss in important paper ie visa recites bank stuff I don't keep that kind of stuff and when it gets full the kids and I take it to the shredder in the craft room or my sweetie burns it in the fire pit.
One day I will share how I organize my binders, but there is so much very very personal information in them that I don't think I want on the internet. Well for now that is all for this project. Not to crazy.
How do you get ready for school? Were do you put all the kids stuff that you don't want to see 24 hrs a day?
Till next time have fun and think outside the box.
Subscribe to:
Comments (Atom)